Workspaces & projects
How workspaces and projects control data isolation, your domain, plan usage, and data retention in Cohortum.
Cohortum stacks two levels: a workspace on top, one or more projects inside it. That split decides where your data lives, who sees it, and what your URLs look like.
How workspaces and projects relate
Think of a workspace as your whole Cohortum account — usually one per company. It's where your billing plan, your members, your data-retention policy, and your domain all live.
You can be in more than one — say you're at an agency and a client adds you to theirs. Each workspace runs on its own domain, so there's no in-app switcher. Jump between workspaces by opening the other one's URL directly. To move between projects inside a workspace, use the project switcher below.
A project walls off data inside a workspace. Each one gets its own sources, events catalog, cohorts, and saved analyses, and nothing leaks across the line. Upload an event log to a "Mobile app" project and it'll never surface in your "Marketing site" project; a cohort you build in one stays invisible in the other. There's no moving data between projects either — to reuse the same events somewhere else, re-upload the source there.
Reach for projects when you want to keep things apart that shouldn't mix: separate products, staging versus production data, or one project per client at an agency. Just one product? One project is all you need.
There's no self-serve signup or workspace creation. A Cohortum operator sets up your workspace and adds the first owner. After that you sign in and run your own members, projects, and data. You'll never build an account from scratch.
URL scoping and the project switcher
Every screen you sign into carries its workspace and project right in the URL:
/<workspace>/<project>/home
/<workspace>/<project>/sources
/<workspace>/<project>/analysis/events/<id>
The workspace segment is your workspace slug; the project segment is a project id, like p_adfkn7urse. Since the scope rides in the URL, any link you copy lands on the exact workspace, project, and screen you were looking at — handy for bookmarks or dropping a teammate a direct link.
Your workspace slug is built from the workspace name, so renaming the workspace changes both the slug and the domain. Links using the old slug can break. Reshare any bookmarks or handed-off links after a rename.
To change projects, use the project switcher — the folder dropdown in the top bar. Pick one and Cohortum reloads the current screen in that project. Your role and access follow you across, so you'll only ever see the projects you're allowed into.
Workspace settings
Head to Settings → Workspace (owners and admins only) for the Workspace Settings page. It's split into three panels.
Workspace info
- Workspace name — the display name for your account. Rename it and your Domain updates too.
- Domain — your workspace's address, shown as
your-slug.cohortum.app. It's derived from the workspace name and locked in when you save, so the field itself is read-only.
Usage
Your current plan shows as a badge, next to an events meter reading N / M events and a % used figure. The meter tracks how much of your plan's events quota you've spent. When you get close to the ceiling, ping your Cohortum contact about a bigger plan or a tighter retention window.
Data retention
Keep events for decides how long your event data sticks around: 30 days, 90 days, 180 days, 1 year, or Unlimited.
Anything older than the retention window gets permanently deleted, and the policy hits every source in the workspace. Shortening the window frees up quota, but whatever it drops is gone for good — no undo. Not sure? Lengthen the window before you narrow it. The purge waits for the next scheduled cleanup rather than firing the moment you save, so quota can take a while to catch up.
Managing projects
Open Settings → Projects (owners and admins only) to see every project in the workspace. You get Active and Deleted tabs, a search box, and columns for Name, Description, Created, Last load, Sources, and Status.
Every workspace comes with one built-in default project — the catch-all for any source you don't file under a project. Rename it if you like, but you can't archive or remove it; deleting it is blocked. Every other project behaves as described below.
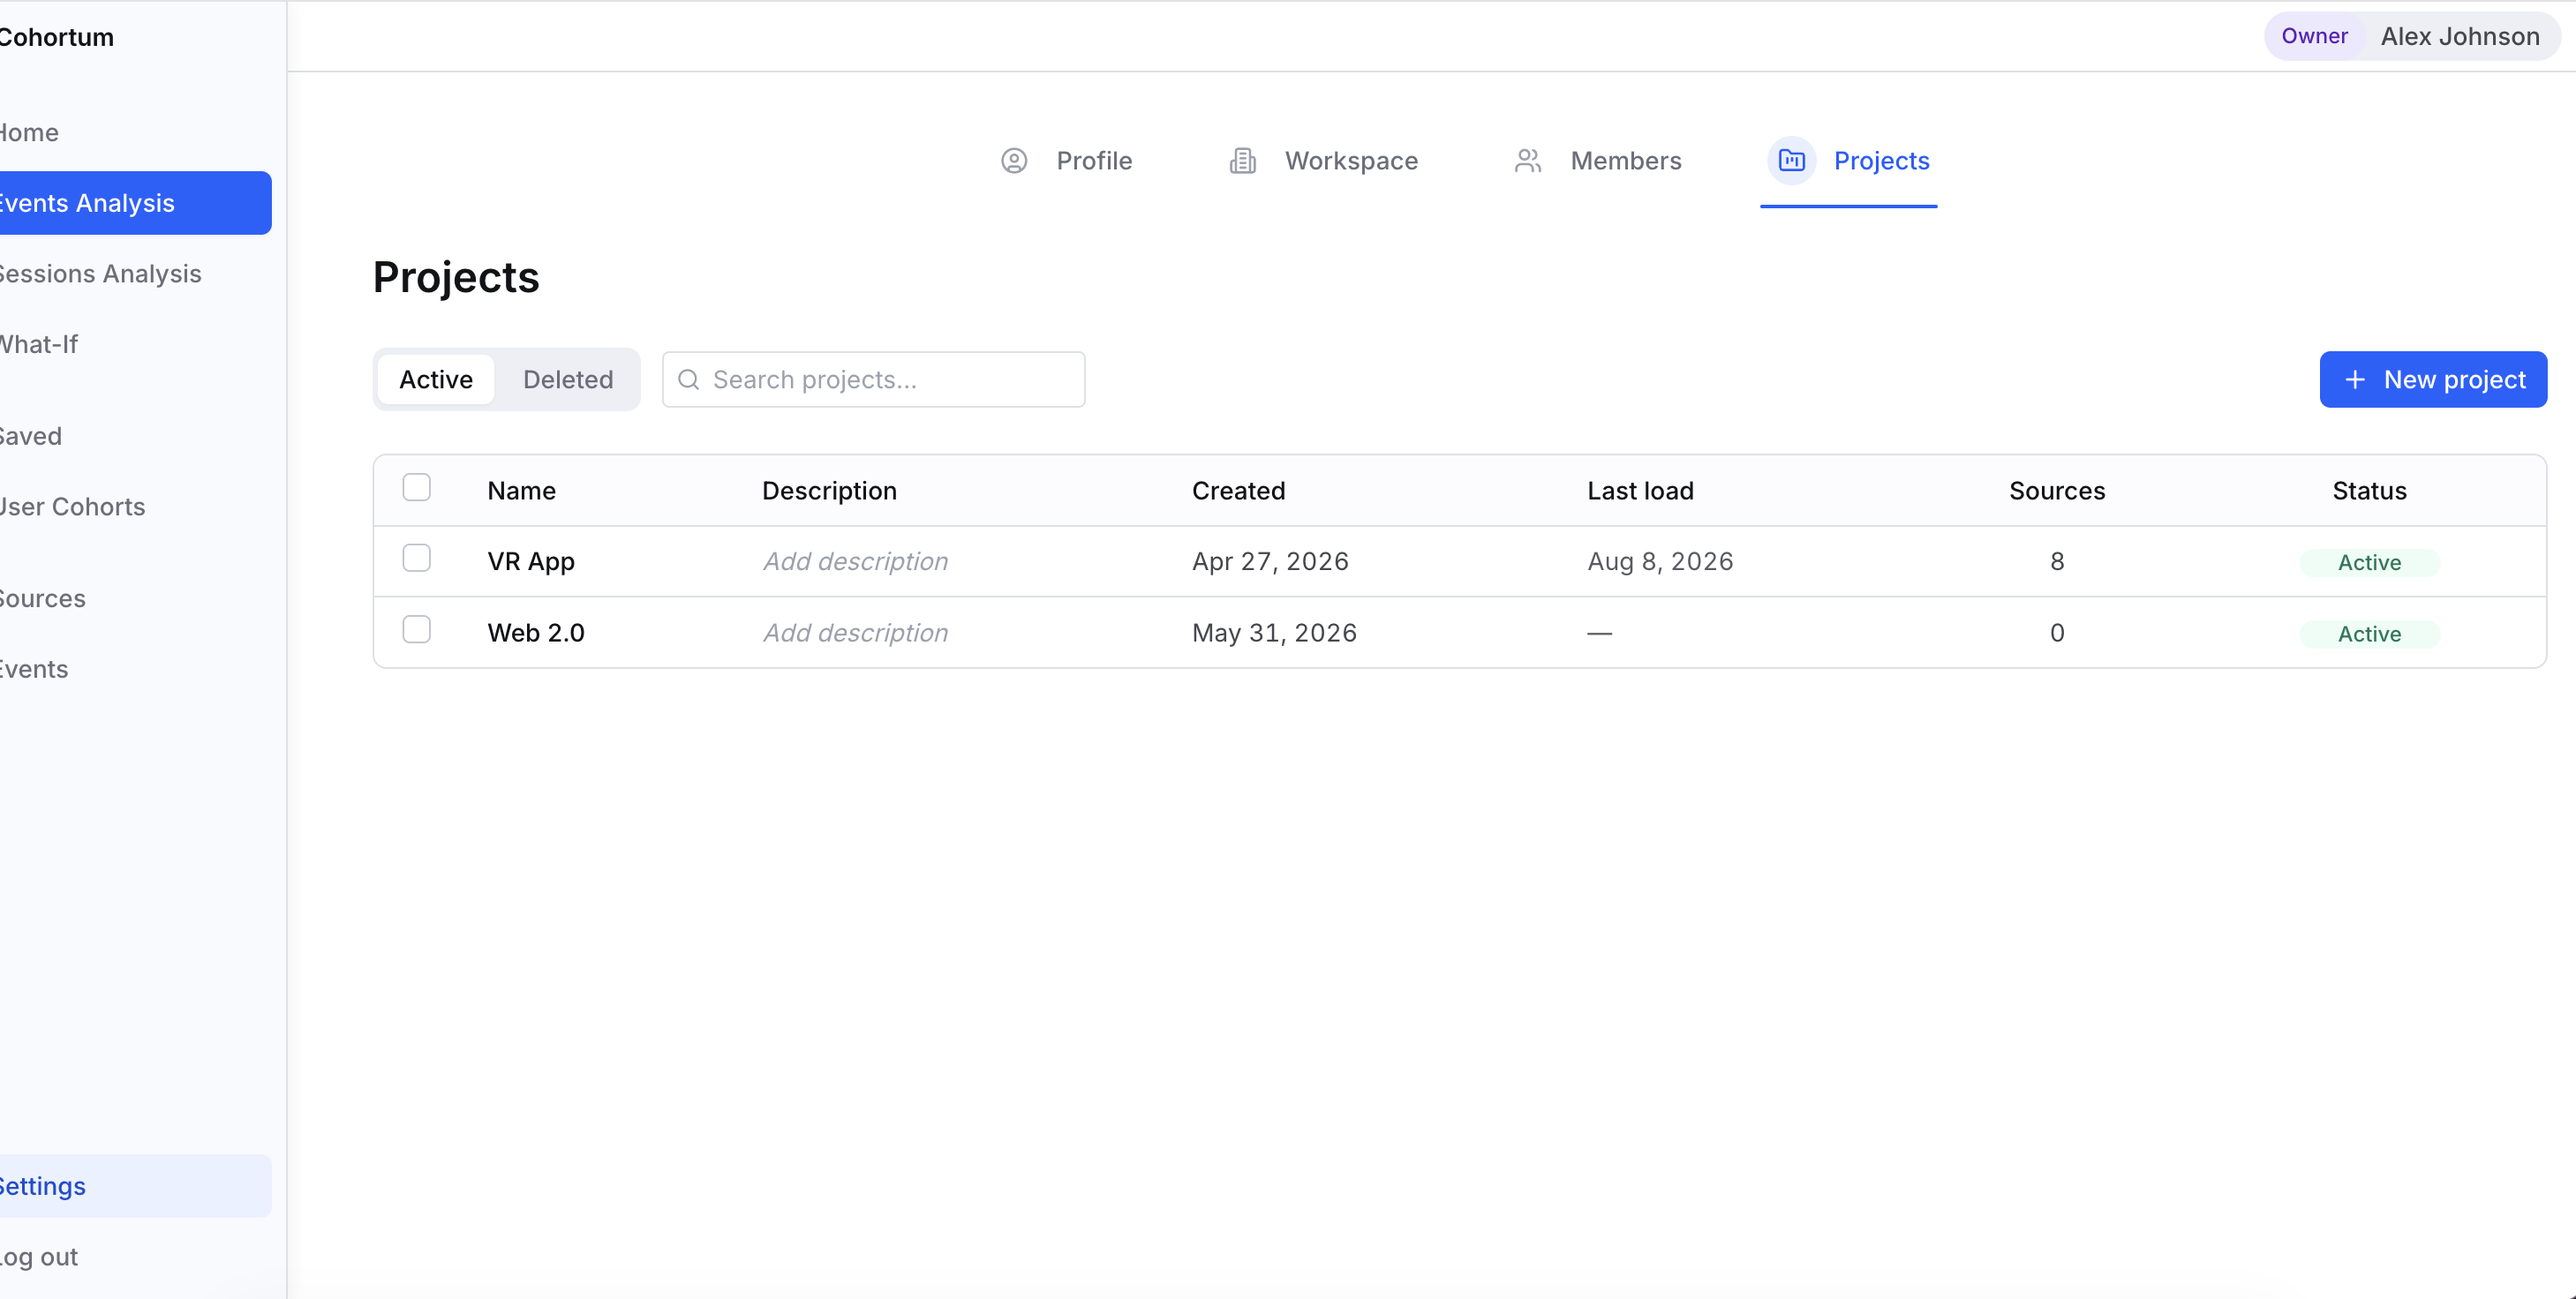
Create a project
A fresh project starts empty and shows a "Connect your first source" prompt until you upload data — head to Upload your first source to get going.
Rename a project
Click a project's Name (or Description) in the table to edit it right there. Enter saves, Escape cancels, and changes take effect immediately.
Delete and restore
Pick one or more projects and click Remove to soft-delete them. They don't vanish — they move to the Deleted tab with their data intact. Want one back? Open the Deleted tab, select it, and click Restore. The default project is the one exception: you can't remove it, so Remove skips it.
Soft-deleting a project just hides its sources, cohorts, and analyses from day-to-day use — everything stays put for recovery. To actually purge event data, change Data retention or delete the underlying sources. To reclaim quota for good, do both.